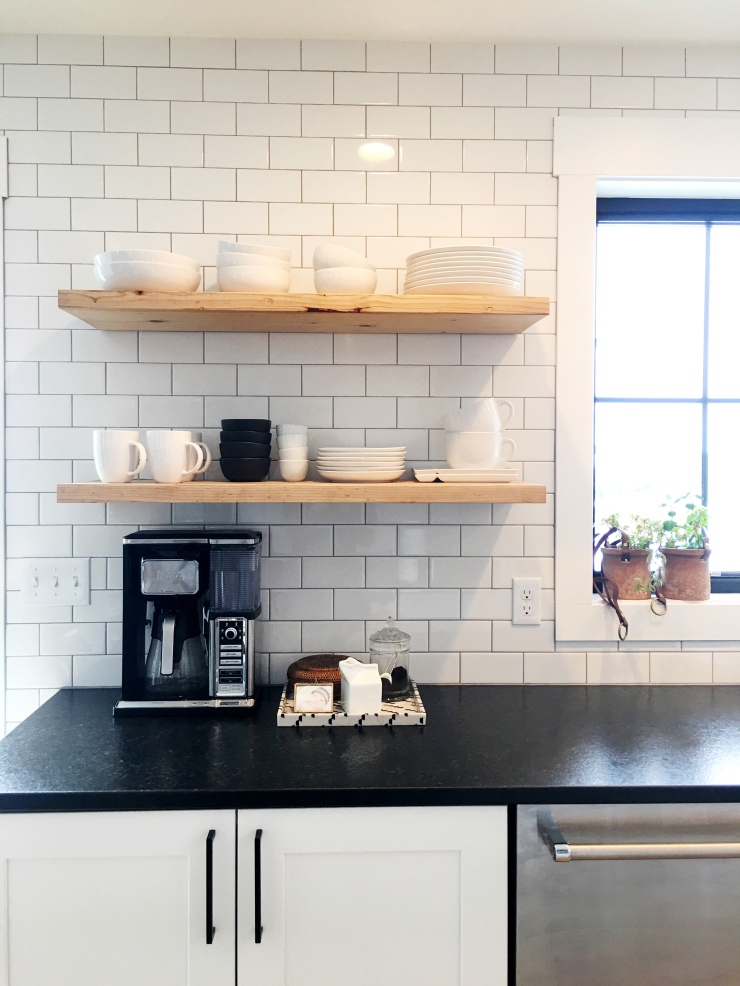
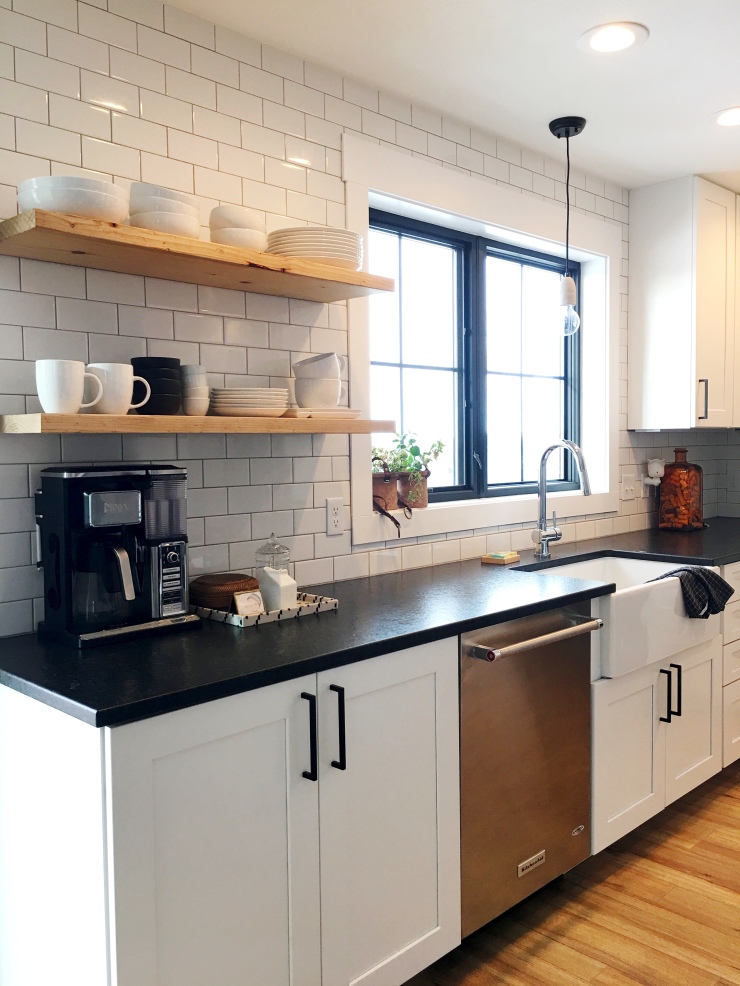
Our kitchen is officially complete!
Floating shelves were always a key part of our kitchen design. Our builder wanted a ridiculous price to install them and he didn’t seem to have a clue how it could be done without side supports. My dad installed some pretty sweet floating shelves in their kitchen, so I knew it could be done. Plus, they’re all over Pinterest. So we planned to do it our selves.
My husbands biggest hesitation was drilling into the tile we just had professionally installed. So it literally took 10 months (and me requesting them as my Birthday gift) before I could talk him into doing this project. Once he started though, he realized it wasn’t all that hard. It only took him an hour from start to finish.
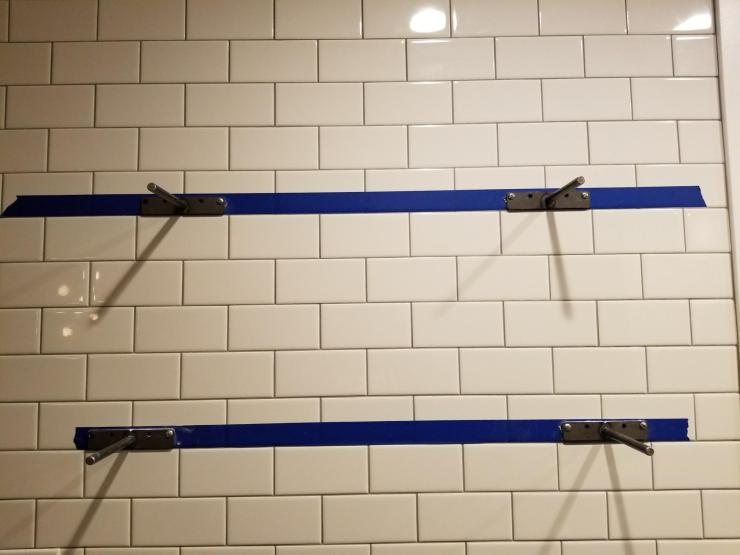
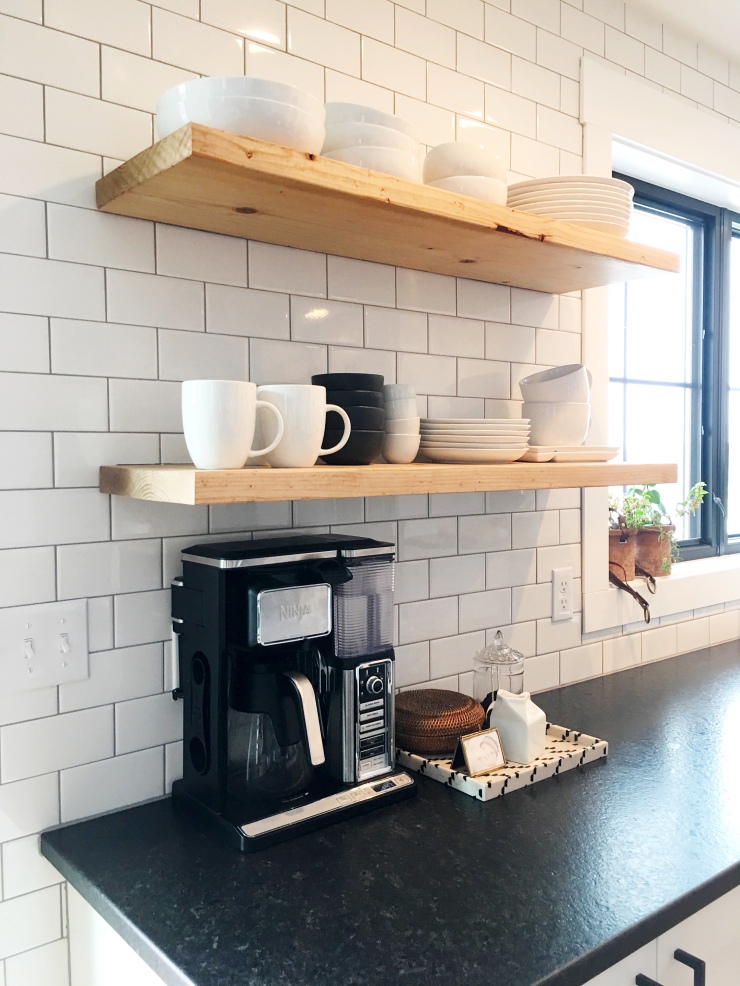
First we had to mark out where to put the shelves. I figured they should be level with the bottom of the upper cabinets and the same distance from the window and trim as the uppers opposite the window. We found these brackets on Amazon. They worked great. He bought a 1/2 inch tile drill bit at Home Depot. Just keep it wet when drilling and you shouldn’t have a problem. Luckily, we were able to locate one stud through the tile. The one stud and 3 heavy duty anchors per shelf should be enough to hold my dishes.

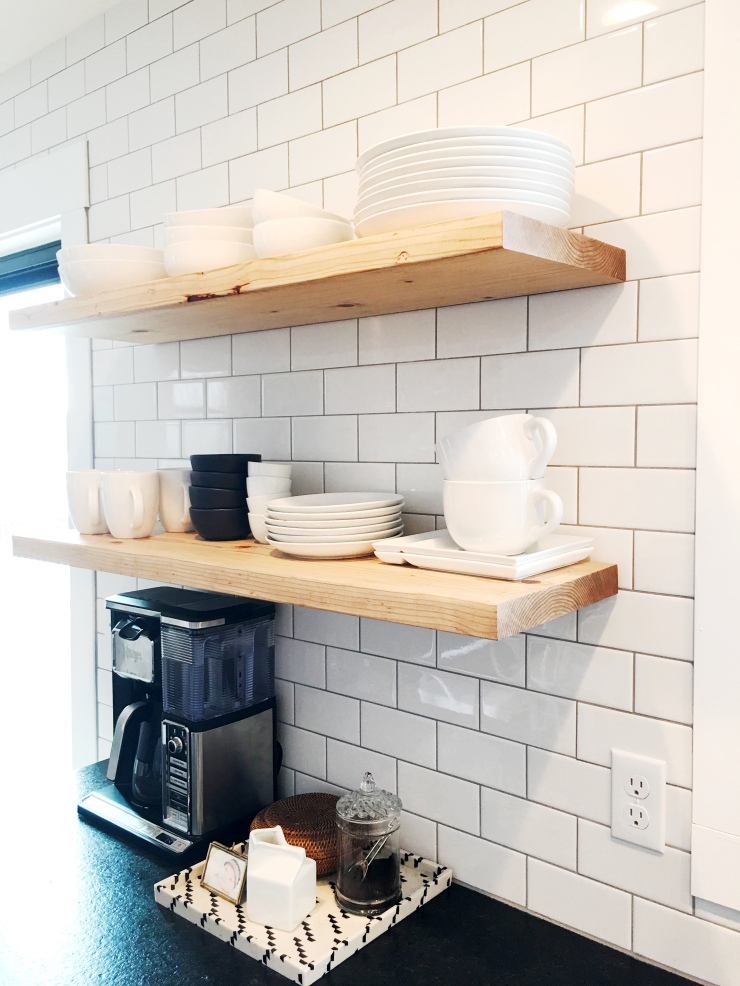
Drill 1/2 inch holes in the wood and slide onto the brackets. We used 2×12 pine- sanded, stained and sealed. I am so happy with the end results!

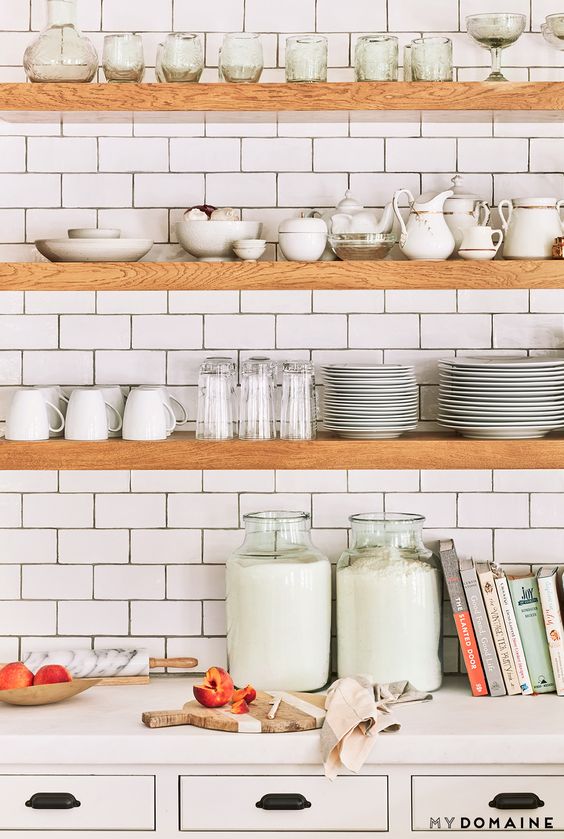
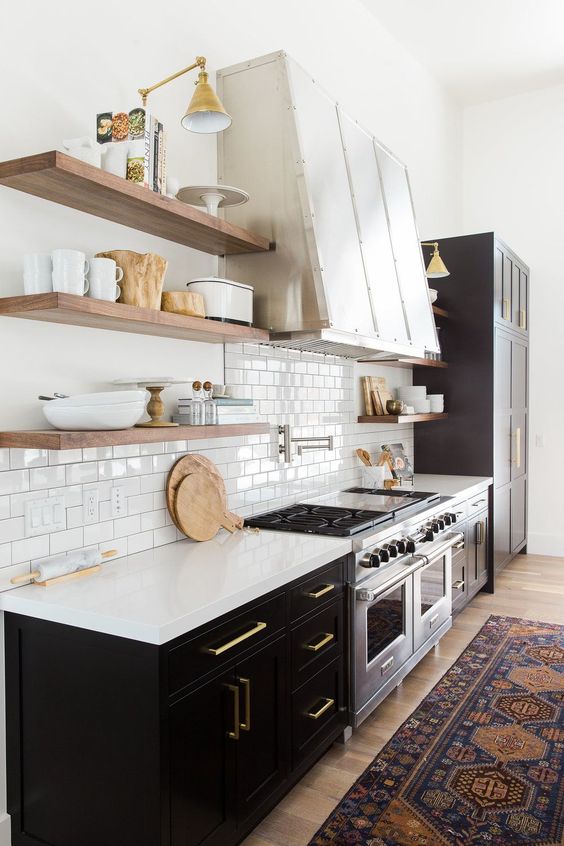
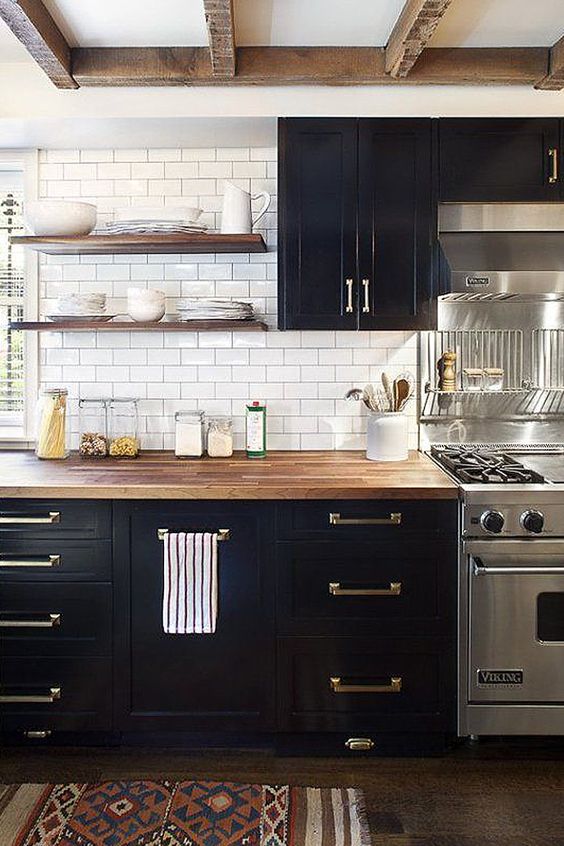
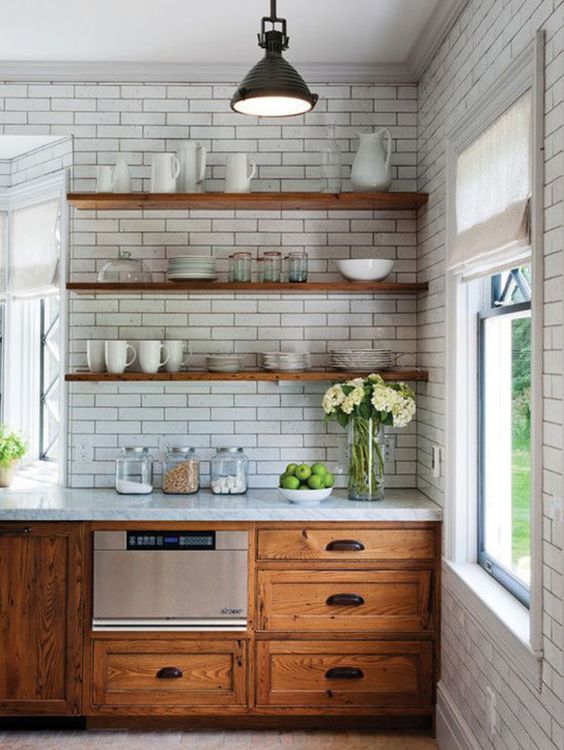
If you’re not sold on the Open Shelving look, check out a few of my biggest inspiration pictures for this project:

It’s good that yours are not right next to your stove. Everything would get greasy quickly there. I love floating shelves!
LikeLike
Ya you’re probably right! Although they’d probably be safe in my kitchen since I barely cook. lol
LikeLike
They turned out really nice. I want some in the bathroom when we redo it.
LikeLike
Now that Brady knows how, he can help!
LikeLike